


Explanation: How to Set the Speed Limit in Huawei Internet Router
July 26, 2024
Best Budget Keyboards for Typing in Pakistan: Top Picks
July 27, 2024

Using the right lighting can make or break your content. A ring-shaped circle light is a popular choice among content creators for its ability to provide even, flattering illumination. This guide will walk you through how to effectively use a ring light to enhance your videos, photos, and overall online presence.
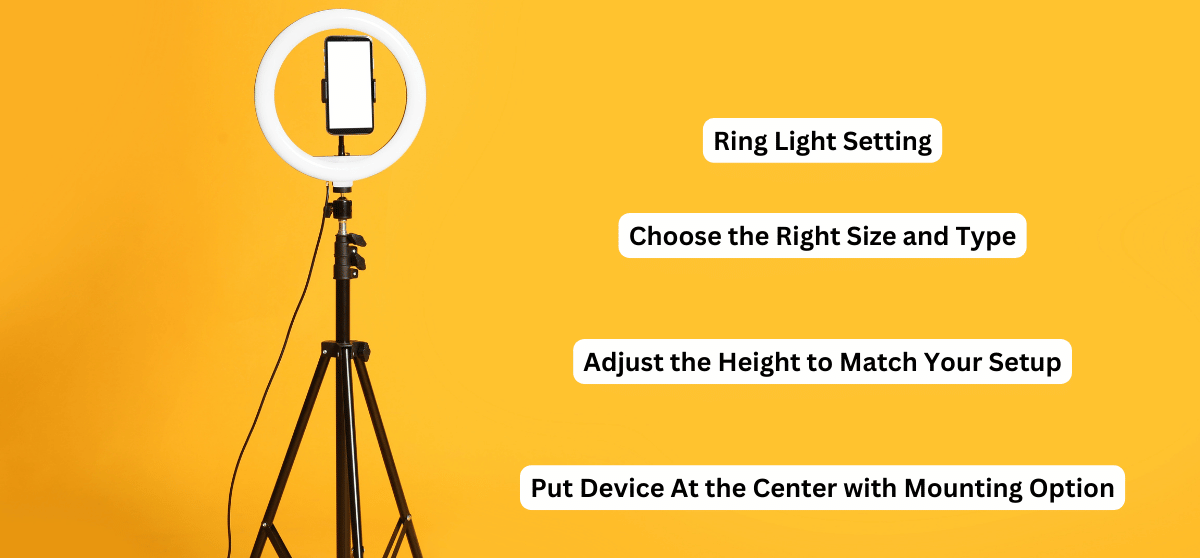
Setting Up the Ring Light
Choose the Right Size and Type
- Diameter: Ring lights come in various sizes, typically ranging from 10 to 18 inches. Larger lights provide broader and softer lighting, while smaller ones are more portable.
- LED or Fluorescent: LED lights are more energy-efficient and offer adjustable color temperatures, while fluorescent lights provide a consistent, natural light.
Positioning the Ring Light
- Height: Position the light at eye level for the most flattering illumination. Adjust the height to match your setup, whether you’re sitting or standing.
- Distance: Place the light about 2 feet away from your face or subject. This distance ensures soft, even lighting without overexposure.
Mounting Options
- Tripod: Most ring lights come with a tripod stand. Ensure it’s stable and positioned correctly.
- Camera/Phone Mount: Many lights have a built-in mount for your camera or phone. Position your device in the center of the circle light for balanced lighting.
Using a Ring Light
Adjusting Brightness and Color Temperature
- Brightness: Start with medium brightness and adjust as needed. Too bright can cause harsh shadows and overexposure, while too dim won’t provide enough light.
- Color Temperature: Use the blogging light’s controls to adjust between warm (yellowish) and cool (bluish) tones. Match the color temperature to the ambient light for a natural look.
Positioning Yourself or the Subject
- Directly Facing the Light: For even lighting, position yourself or your subject directly facing the ring light.
- Avoiding Glare: If you wear glasses, tilt the light slightly or adjust the angle to avoid glare and reflections.
Using Diffusers and Filters
- Softening the Light: Many ring lights come with diffusers to soften the light. Attach the diffuser for a more flattering, natural look.
- Color Filters: Experiment with color filters to achieve different effects and moods in your content.
Tips for Different Types of Content
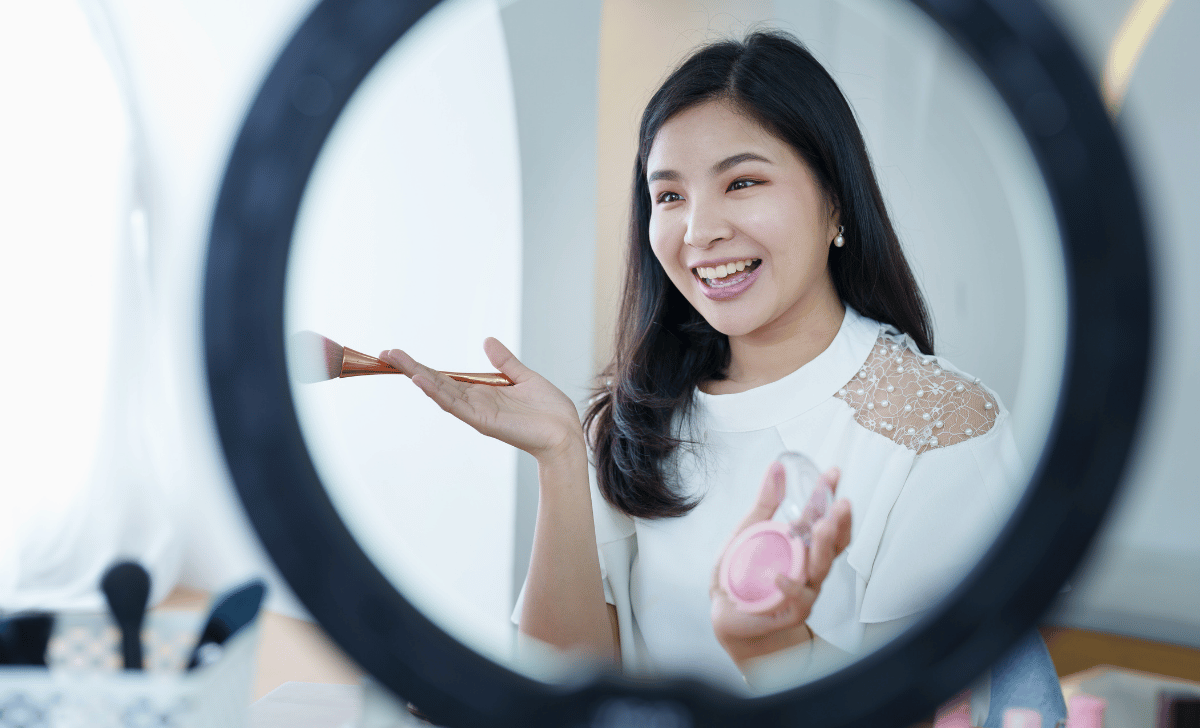
For Makeup Tutorials
- Close-Up Shots: Use a higher brightness setting to highlight details and colors. Ensure the light is directly in front of you to avoid shadows, making it perfect as a ring light for makeup applications.
- Even Skin Tone: Adjust the color temperature to a neutral or slightly warm tone for a natural skin appearance.
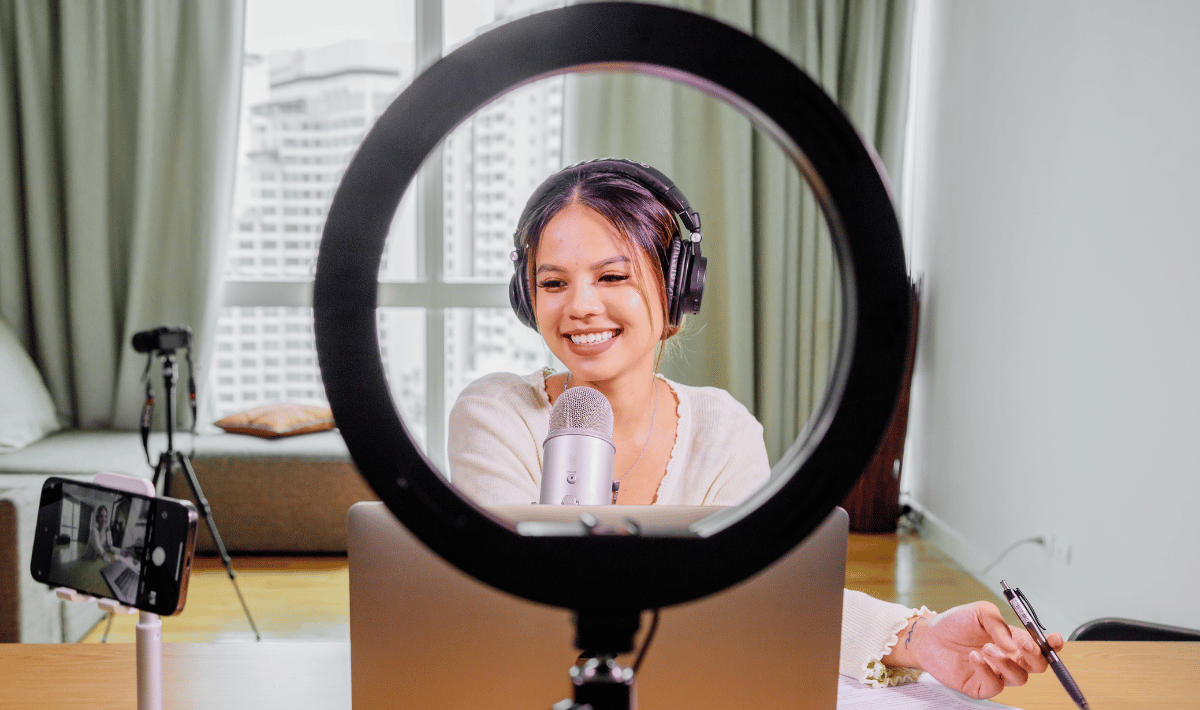
For Vlogging and Live Streaming
- Natural Look: Keep the brightness moderate to avoid an artificial look. Match the light’s color temperature with your room lighting.
- Background Lighting: Balance the light with additional background lights to create depth and interest in your frame.
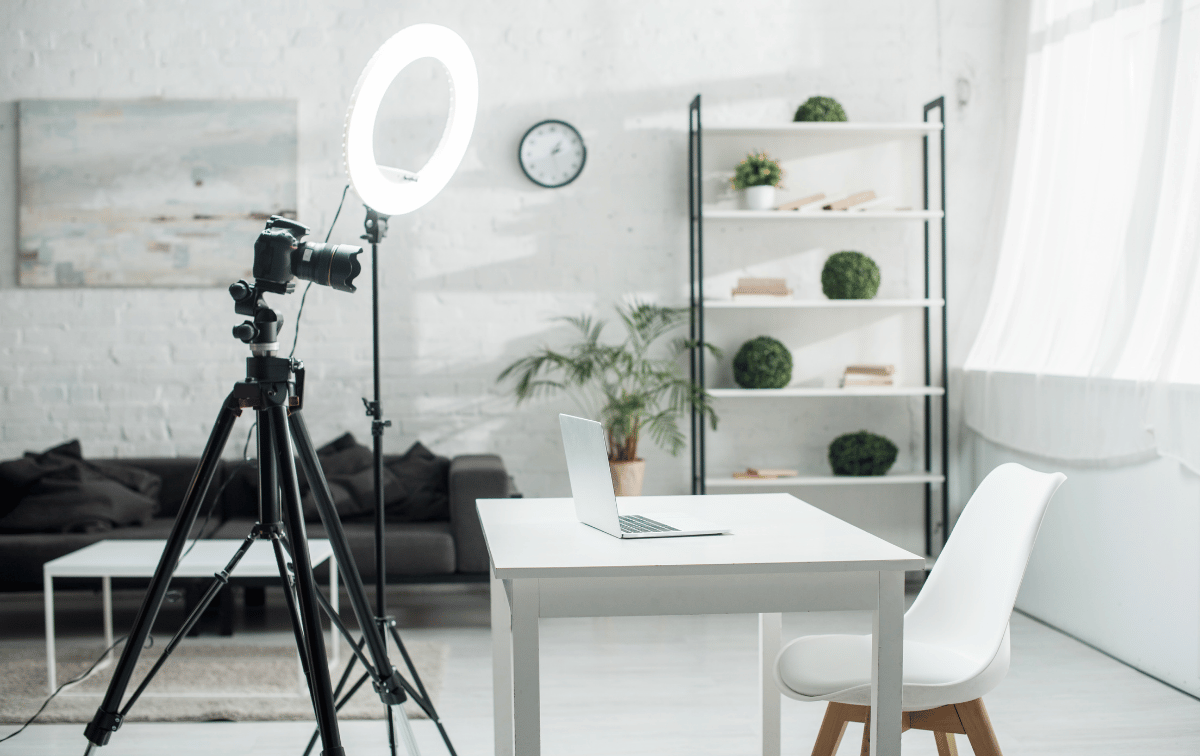
Photography
- Catchlights: Position the light to create a pleasing ring-shaped reflection in the eyes, adding a professional touch to portraits.
- Product Photography: Use the light to evenly illuminate products, eliminating shadows and highlighting details.
Conclusion: Ring Light Usage
An LED light is a versatile and essential tool for content creators. By understanding how to set up and how to use a ring light perfectly, you can significantly enhance the quality of your videos and photos. Experiment with different settings and techniques to find what works best for your content style.
Happy Creating 🙂
Faizan
I am passionate about exploring the latest tech gadgets in Pakistan and sharing my insights through detailed guides, articles, and reviews. As a Tech content writing specialist, I ensure my articles prioritize people-first content. They are accurate, insightful, easy to understand, and optimized for search engines, demonstrating my experience and expertise.
