Bluetooth Headphones Troubleshooting Guide: Connection Issues and More
October 14, 2024
Noise Isolation vs Noise Cancelling Headphones: Understanding the Difference Before Buying
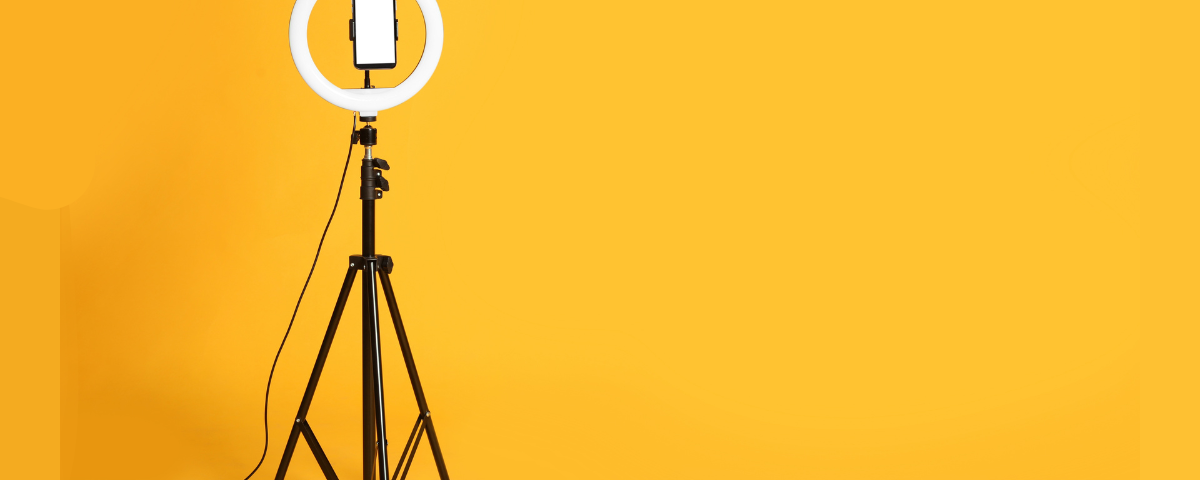
October 17, 2024Need help assembling your ring light with stand? Don’t worry, we’ve got you covered. This guide will show you how to assemble a ring light with a tripod quickly and efficiently. Plus, we’ll explore some of the top models available in Pakistan.
Best Ring Light with Stand to Buy
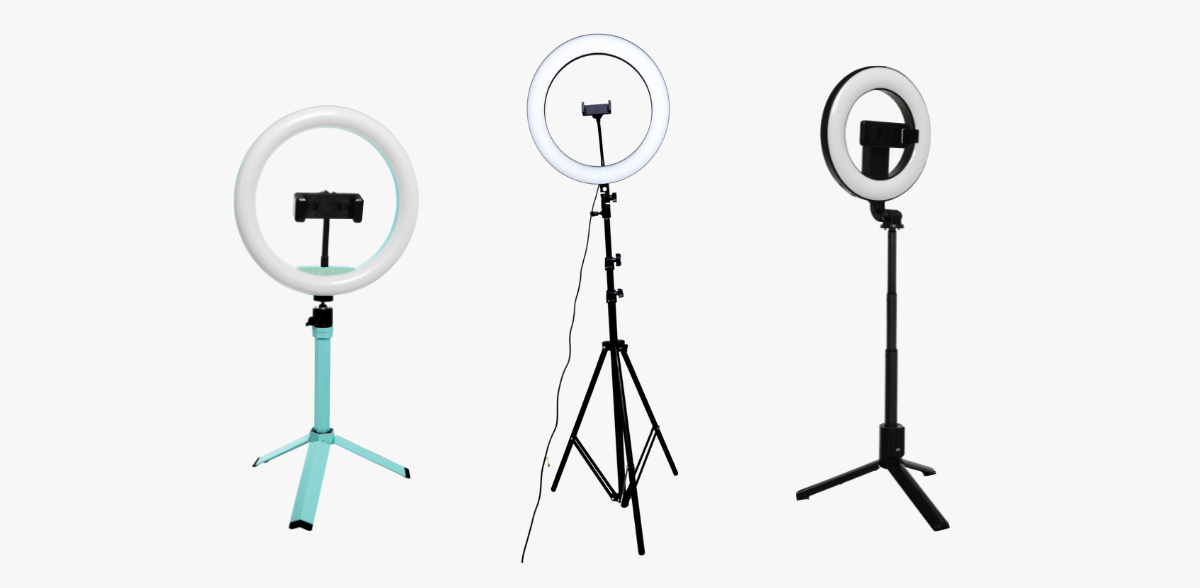
When choosing a ring light with stand, it’s important to consider the features that best suit your needs. Here are some of the best options available in Pakistan:
- Dimmable LED 36cm Ring Light
Priced at ₨ 7,250, this 36cm LED ring light offers 3 shades of colors for perfect lighting. It includes a USB remote control, an AC adapter, and a sturdy stand. It’s perfect for makeup, selfies, or live streaming. - 7 Feet Tripod with 26cm Selfie Ring Light Kit
For ₨ 2,250, this ring light offers 10 brightness modes and three color temperatures (white, warm, and soft light). Its adjustable 7-foot stand is stable and suitable for many uses, including photography, video live sessions, and makeup tutorials. - 46cm Ring Light PK-460
At ₨ 5,800, the PK-460 is designed for professionals. It’s ideal for YouTube live shows and photography, providing bright and even lighting. It’s easy to set up and compatible with most smartphones. - Jmary FM-18R 18”
This high-end ring light costs ₨ 14,000 and offers powerful illumination with 55W output. It includes three mobile phone clips, a remote control, and a power supply—making it perfect for professional content creation.
How to Assemble a Ring Light with Stand: Step-by-Step
Assembling a ring light with a stand can seem intimidating, but with the right instructions, it’s simple. Follow these steps to set up your ring light and ensure you’re ready to use it in no time.
Step 1: Unpack the Items
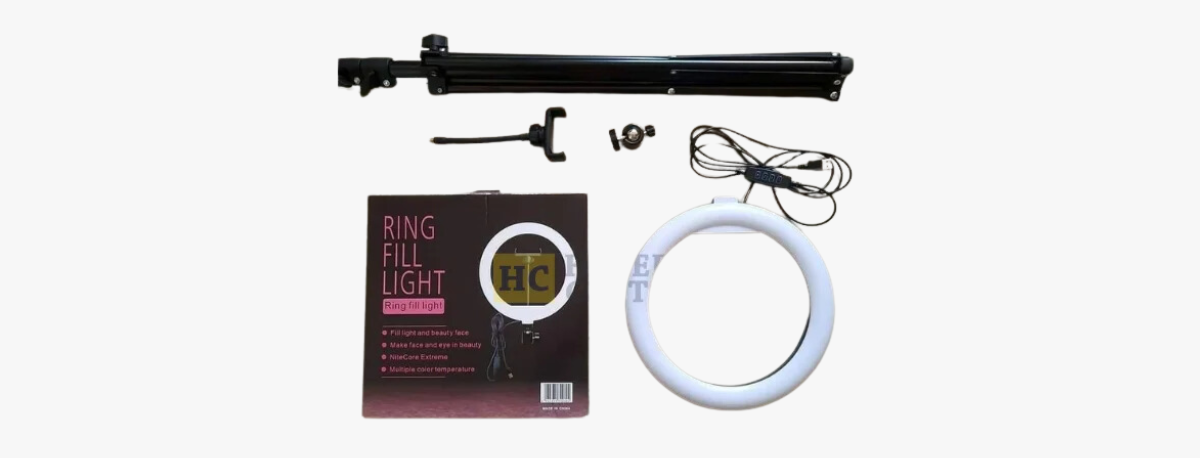
Start by unboxing your ring light kit. You should have:
- The ring light itself.
- The stand.
- A phone holder or multiple phone holders (depending on the model).
- Power cables and adapters.
- Any additional accessories like remotes or USB controls.
Additionally, make sure all items are present, and check for any instructions that may have come with the package.
Step 2: Set Up the Stand
To assemble the stand:
- Unfold the tripod legs by loosening the knob at the base of the stand.
- Extend the legs to your desired height and tighten the knob to secure them.
- Adjust the tripod height by pulling the poles upwards. Lock the desired height by tightening the knobs on the poles.
Besides, ensure the stand is stable and level before proceeding to the next step.
Step 3: Attach the Ring Light with Stand
- The ring light will usually have a screw hole at its base. Line up this hole with the screw on top of the tripod stand.
- Turn the ring light clockwise to securely attach it to the stand.
- Moreover, ensure it’s tightly screwed in place, but avoid overtightening, as this could damage the light or the stand.
Step 4: Attach the Phone Holder(s)
Generally, ring lights come with a phone holder for added convenience.
- If your ring light includes one or more phone holders, locate the holders and the attachment points on the ring light.
- Screw or clip the phone holders into place within the center of the ring light. Furthermore, make sure they are positioned securely.
- Adjust the phone holder angle to suit your desired filming or photography angle.
Step 5: Power the Ring Light
Once your ring light is securely mounted and the phone holders are in place, it’s time to connect the power.
- Plug the power adapter into the ring light and connect it to a power outlet.
- If your model comes with a USB option, connect the USB cable to an appropriate power source (like a USB port or an adapter).
Step 6: Test the Light and Adjust Settings
Turn on your ring light and test its brightness and color settings:
- Use the remote control or in-line dimmer to adjust the light’s intensity and color temperature. However, most ring lights offer three color modes: warm, cool, and neutral.
- Adjust the brightness levels based on your shooting environment.
- Position the phone within the holder and ensure that the lighting is even across your subject.
Step 7: Final Steps
Lastly, check that your ring light setup is stable and balanced. If needed, adjust the stand’s height and angle to achieve the best lighting for your photos or videos.
Why Use a Ring Light with Stand?
If you’re wondering why and how to use a ring light, it’s quite simple. Ring Light with stand now become a diverse tool for content creators, photographers, makeup artists, and anyone who needs professional lighting. The circular design ensures that light is distributed evenly around the subject, eliminating shadows and providing a flattering glow. Additionally, most ring lights come with dimmable settings and adjustable color temperatures, making them suitable for various lighting conditions.
Furthermore, the added convenience of a phone holder means you can easily film or photograph hands-free, allowing you to focus on creating high-quality content.
Conclusion
Assembling a ring light with stand is a straightforward process that enhances your ability to create professional-quality photos and videos. Whether you’re a makeup artist looking to perfect your selfies or a YouTuber needing bright, even lighting for live shows, a ring light is an essential tool. For those in Pakistan, there are several best ring light options, such as the Jmary FM-18R and PK-460, which offer great features for a range of budgets.
Now that you’ve set up your ring light with a stand, you’re ready to create stunning content with ease!


